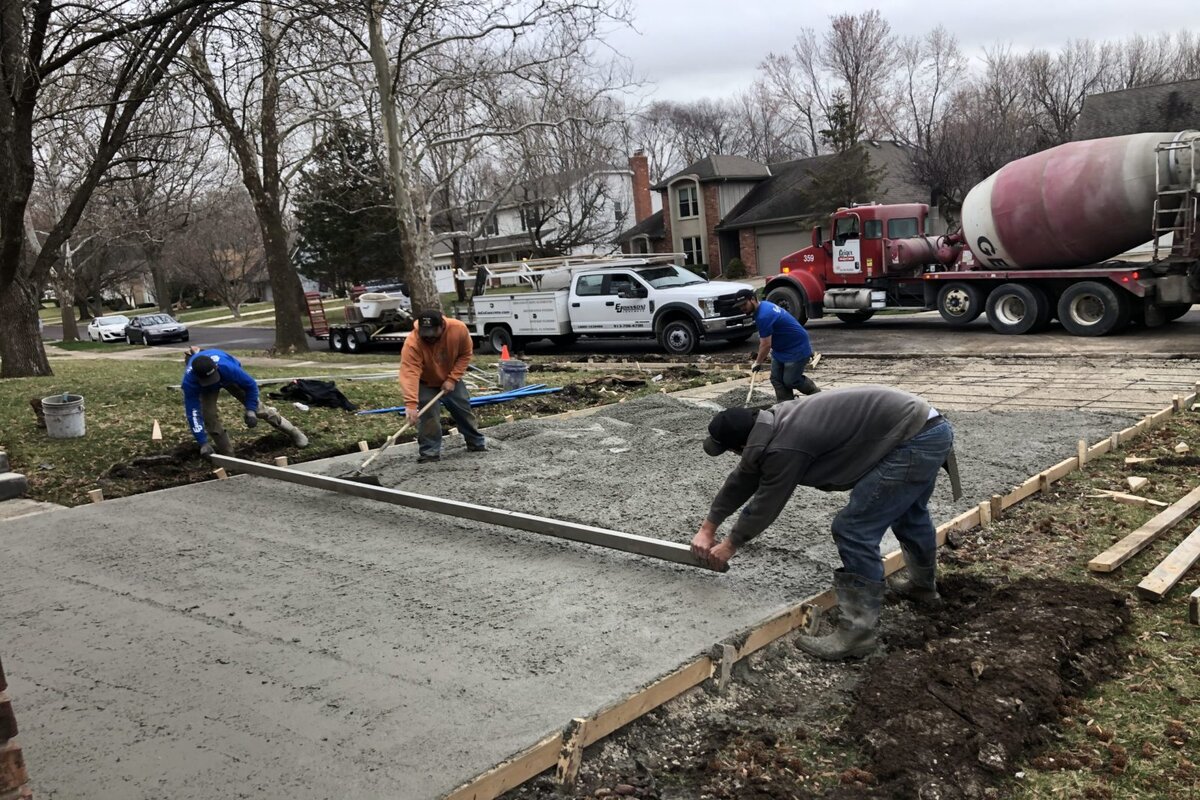
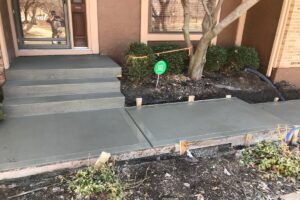
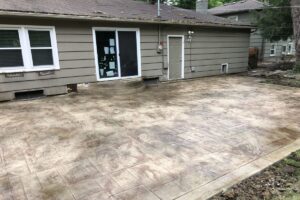
Driveway concrete installation is a detailed process that’s best to have a team of experienced professionals complete. Even if you do not install your concrete driveway yourself, it’s still helpful to understand the preparation that goes into the project.
That way, you can better understand the factors that go into concrete driveway pricing and why the materials last much longer than others.
The First Step In Concrete Installation: Removing Your Old Driveway
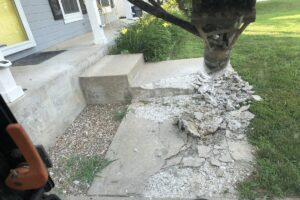
Before your driveway can receive a fresh layer of concrete, the existing driveway must be removed. As you can imagine, breaking down a thick layer of concrete demands a lot of heavy-duty equipment.
On top of that, there is a specific way to remove a driveway’s concrete to ensure it is done safely without damaging your home. At Johnson Concrete, we have all the demo tools and removal equipment, so our experienced team gets the job done correctly.
Installing The Subgrade
The next step to preparing your driveway for concrete installation is installing the subgrade. Without a durable and properly installed subgrade, a driveway is prone to cracks and other damage.
At Johnson Concrete, we use a compacted gravel base to provide your driveway with a solid foundation that won’t settle or erode throughout its lifetime.
The thickness of your driveway’s subgrade depends on a few factors, like the number and weight of vehicles you plan to park on it. That said, our team of professionals will consider this factor when preparing an estimate for your concrete driveway installation.
Reinforcing Rebar To Add Durability
After laying a solid base, the following preparation step is reinforcing rebar. By doing this, your driveway is more durable and can withstand the heavy weights that will be sitting on it.
Our team uses half-inch rebar that’s kept in place by chairs, so it stays where it’s designed. Other driveway installers use wire mesh and don’t take the extra step to ensure the rebar is precisely where it’s supposed to be.
After this, we pour a high-strength 4,000 PSI mixed concrete in addition to a water reducer. The water reducer ensures only a little water is added to the mix.
Finishing The Driveway With Joints
Finishing the driveway is just as important as taking the proper preparation steps. At Johnson Concrete, we use one-inch deep joints to prevent cracks.
When we install the joints, one is typically placed in the middle of the driveway, and one is placed every ten feet in the opposite direction.
Most concrete driveway installers use a shallow decorative joint. Although these kinds of joints certainly work, the deeper joints better stabilize your driveway and protect it from cracking and early damage.
An Important Detail: Sealant
A seemingly small yet critical detail in the driveway installation process is the addition of sealant. The sealant acts as a protective layer over your driveway that helps your concrete better withstand outdoor elements.
Living in Kansas City, you want to make sure your driveway is capable of withstanding snow, ice, and the occasional hail storm. Our team of experts applies an acrylic cure and seal after we are finished brooming the driveway’s texture.
The acrylic cure helps repel excess water in addition to protecting your driveway from acids, salt, grease, and other substances.
If you notice that some areas of your driveway are darker than the others, it’s just the sealant curing in its own time. Eventually, it will even out. But just like concrete, the weather affects how and when the sealant fully cures.
Get Driveway Concrete Installation Done By The Experts
A durable and long-lasting driveway is only as good as the preparation that went into the process. Before any concrete is poured, an installation team must do the following:
- Safely remove your existing driveway
- Lay a solid base to prevent cracks
- Add reinforcing rebar
If you want to make sure concrete installation is done the right way on your driveway, contact us at Johnson Concrete, we’re the experts in all things related to concrete driveways!


